COMPOSITING DEMO REEL
- clean plating
- digital makeup / beauty fixes
- hair replacement
- graphic integration
- motion graphics
- video editing
- greenscreen/bluescreen keying
- multi pass compositing
- 2d/3d tracking
- matte painting
- rotoscoping
THE BREAKDOWN
MULTI-PASS COMPOSITING
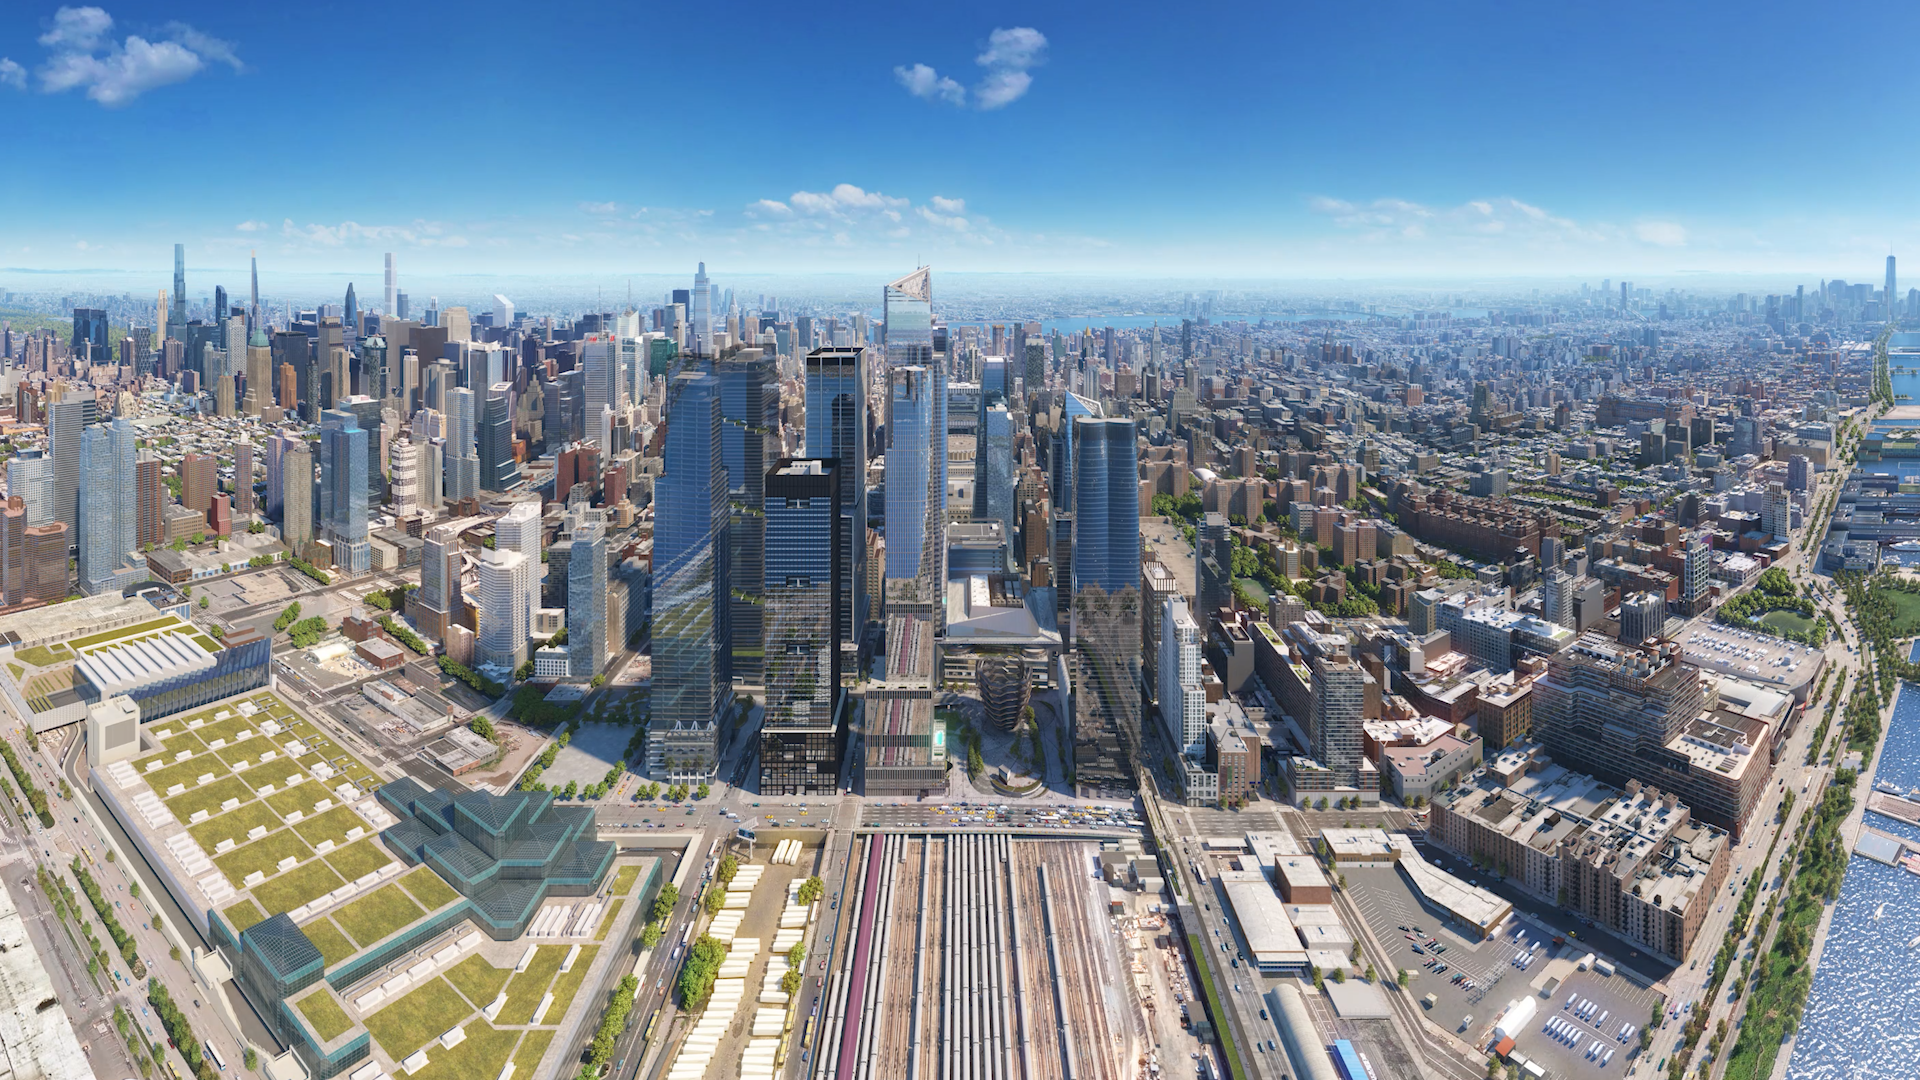
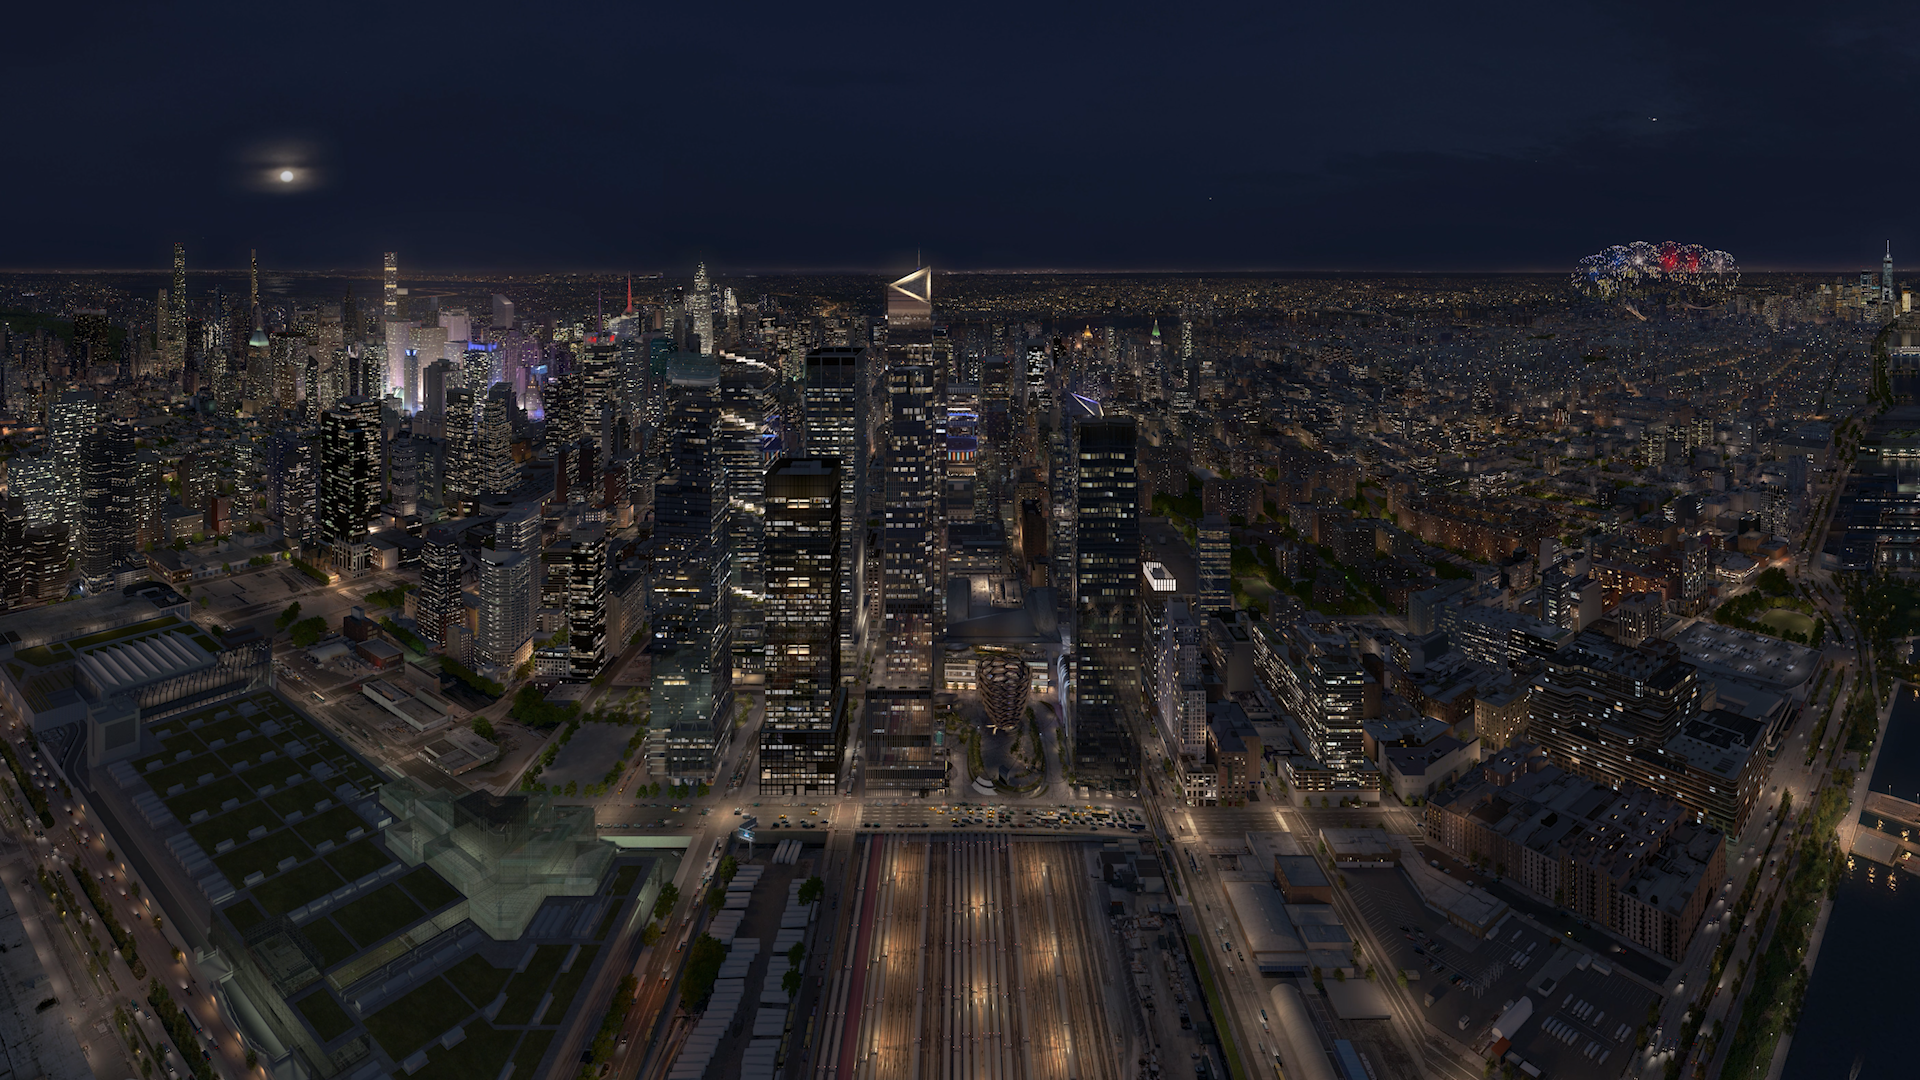
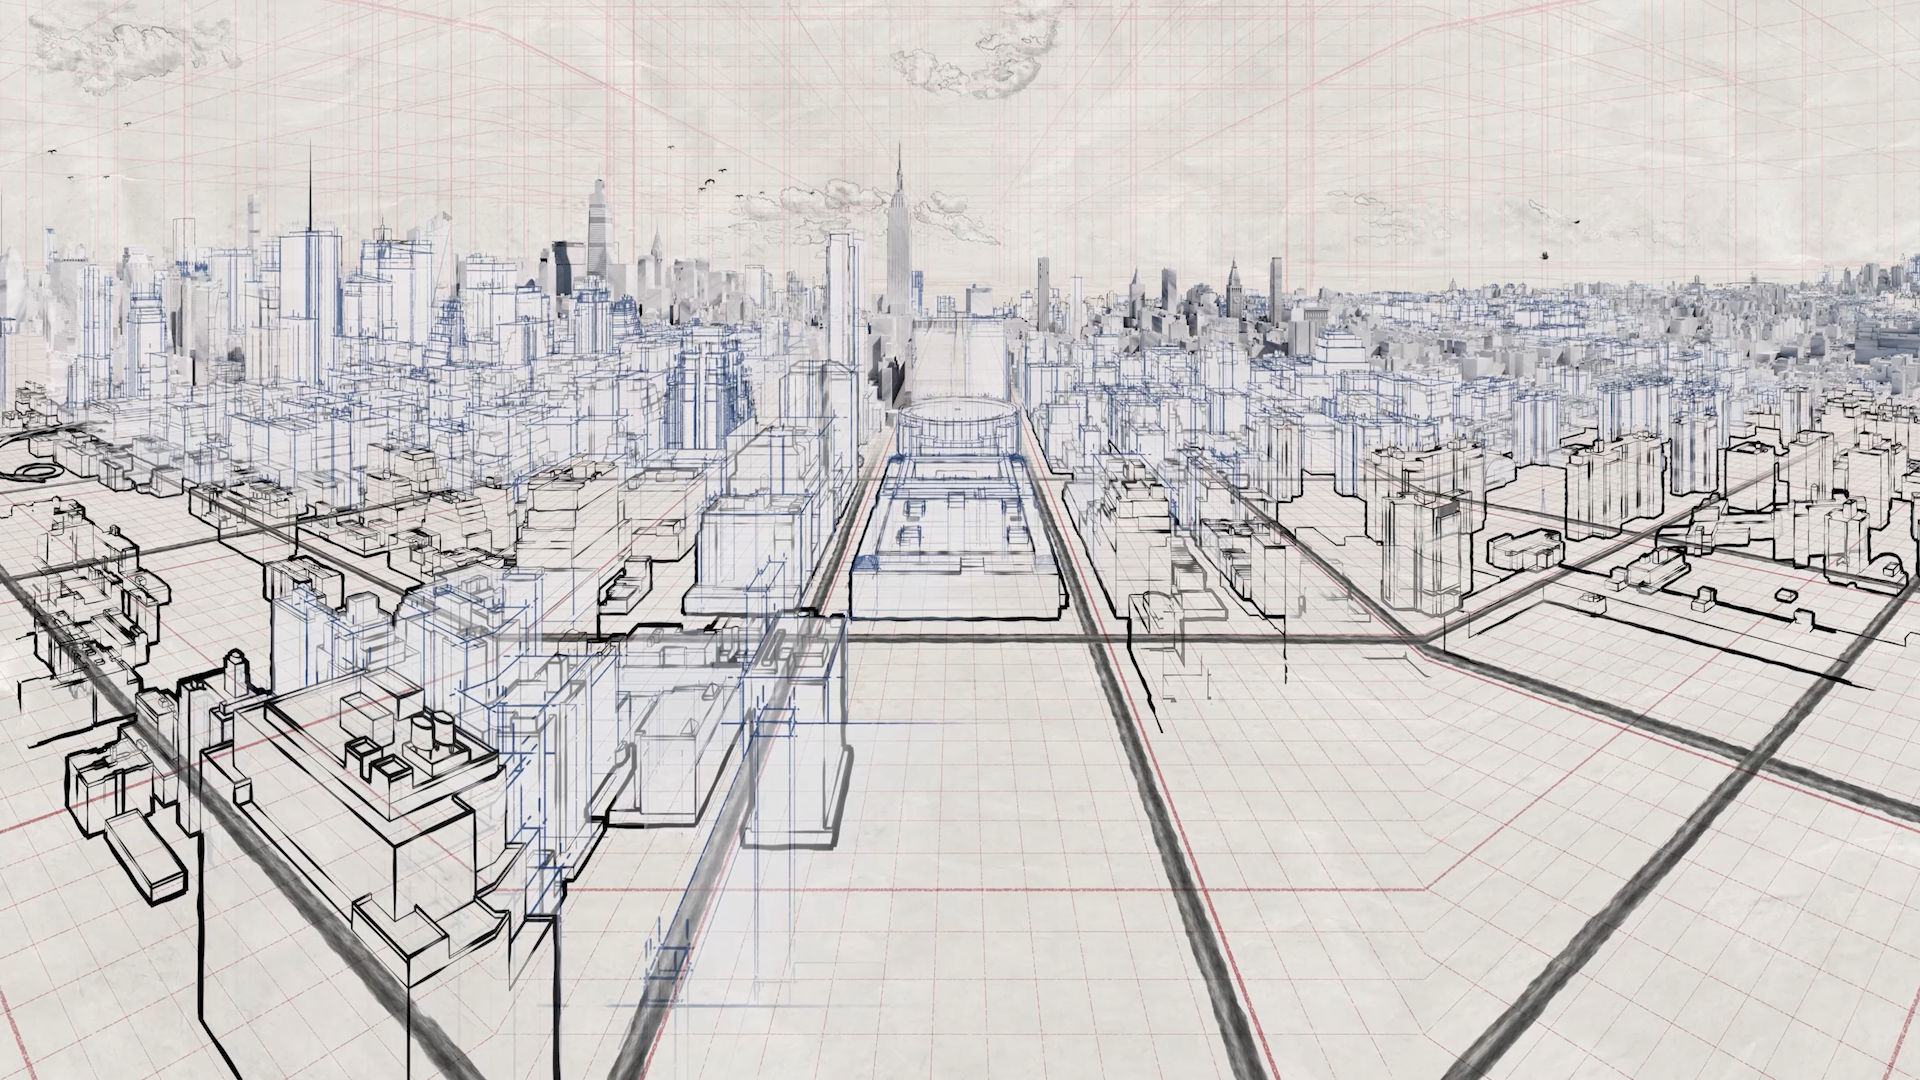
I worked on this shot for the Hudson Yards Elevator to the top of The Edge - an actual physical ride you can take in NYC:
https://www.youtube.com/watch?v=AUdGCCyNwTE
I worked on many aspects and initial sketches for this project but one of the major ones was compositing several passes together, using After Effects. Because these images were going to be playing in a 3-panel elevator, we had to take that into consideration and render and composite accordingly. There were possibly 50+ passes, and doubled when we did the night version of this. Each pass is an opportunity to correct something different in terms of lighting, materials, shadows etc., but also knowing when to just plus it and move on.
The sketchy draw-on portion was partly done in the 3D process using a positioning mask. For many foreground buildings, however, I had the opportunity to sketch the lines onto actual geometry using Blender’s Grease Pencil tool and modifiers. It was a complex process that required a lot of communication back and forth with the 3D artist and team to ensure proper timing.
from 0:00 to 0:57
GREENSCREEN / KEYING

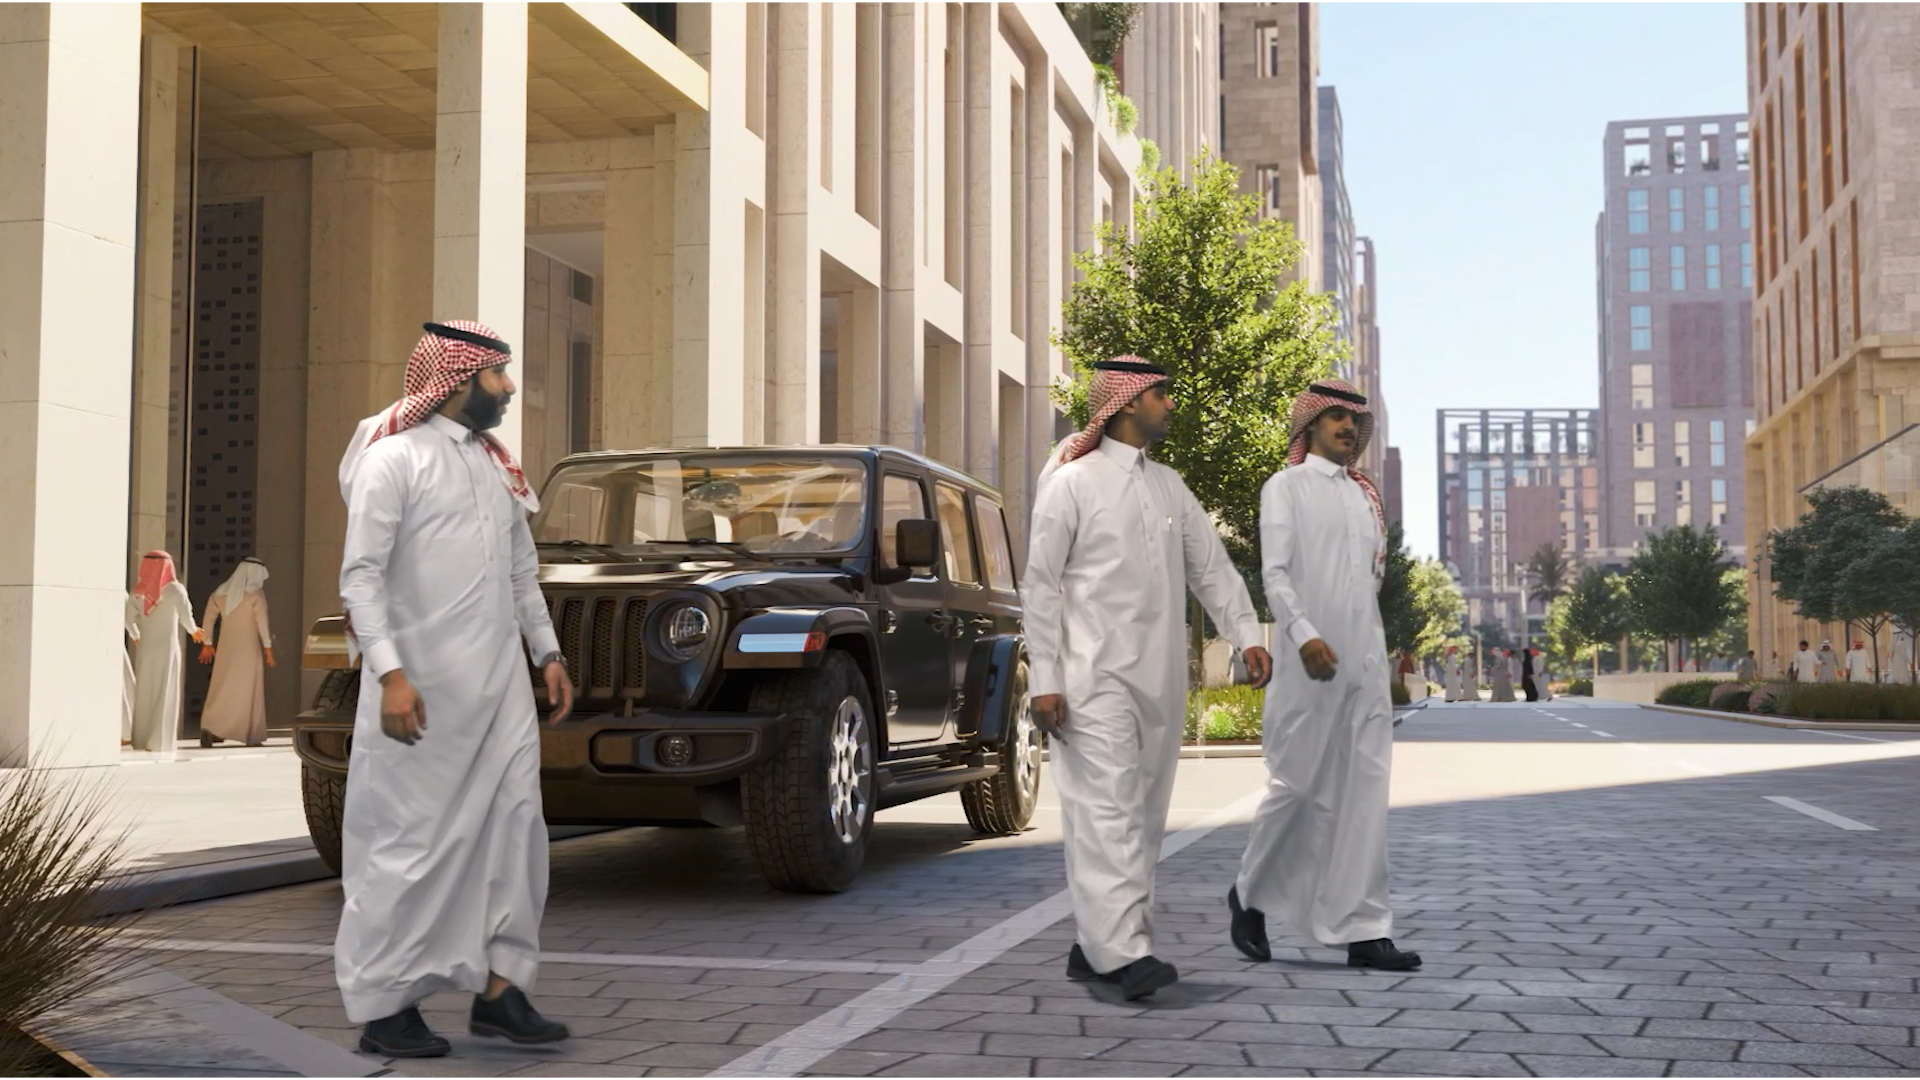
My process for keying almost always has the same bones but is slightly different every time. I usually start with a Keylight, form a core matte and a garbage matte and then focus on the details, adding a variety of different keyers as necessary.
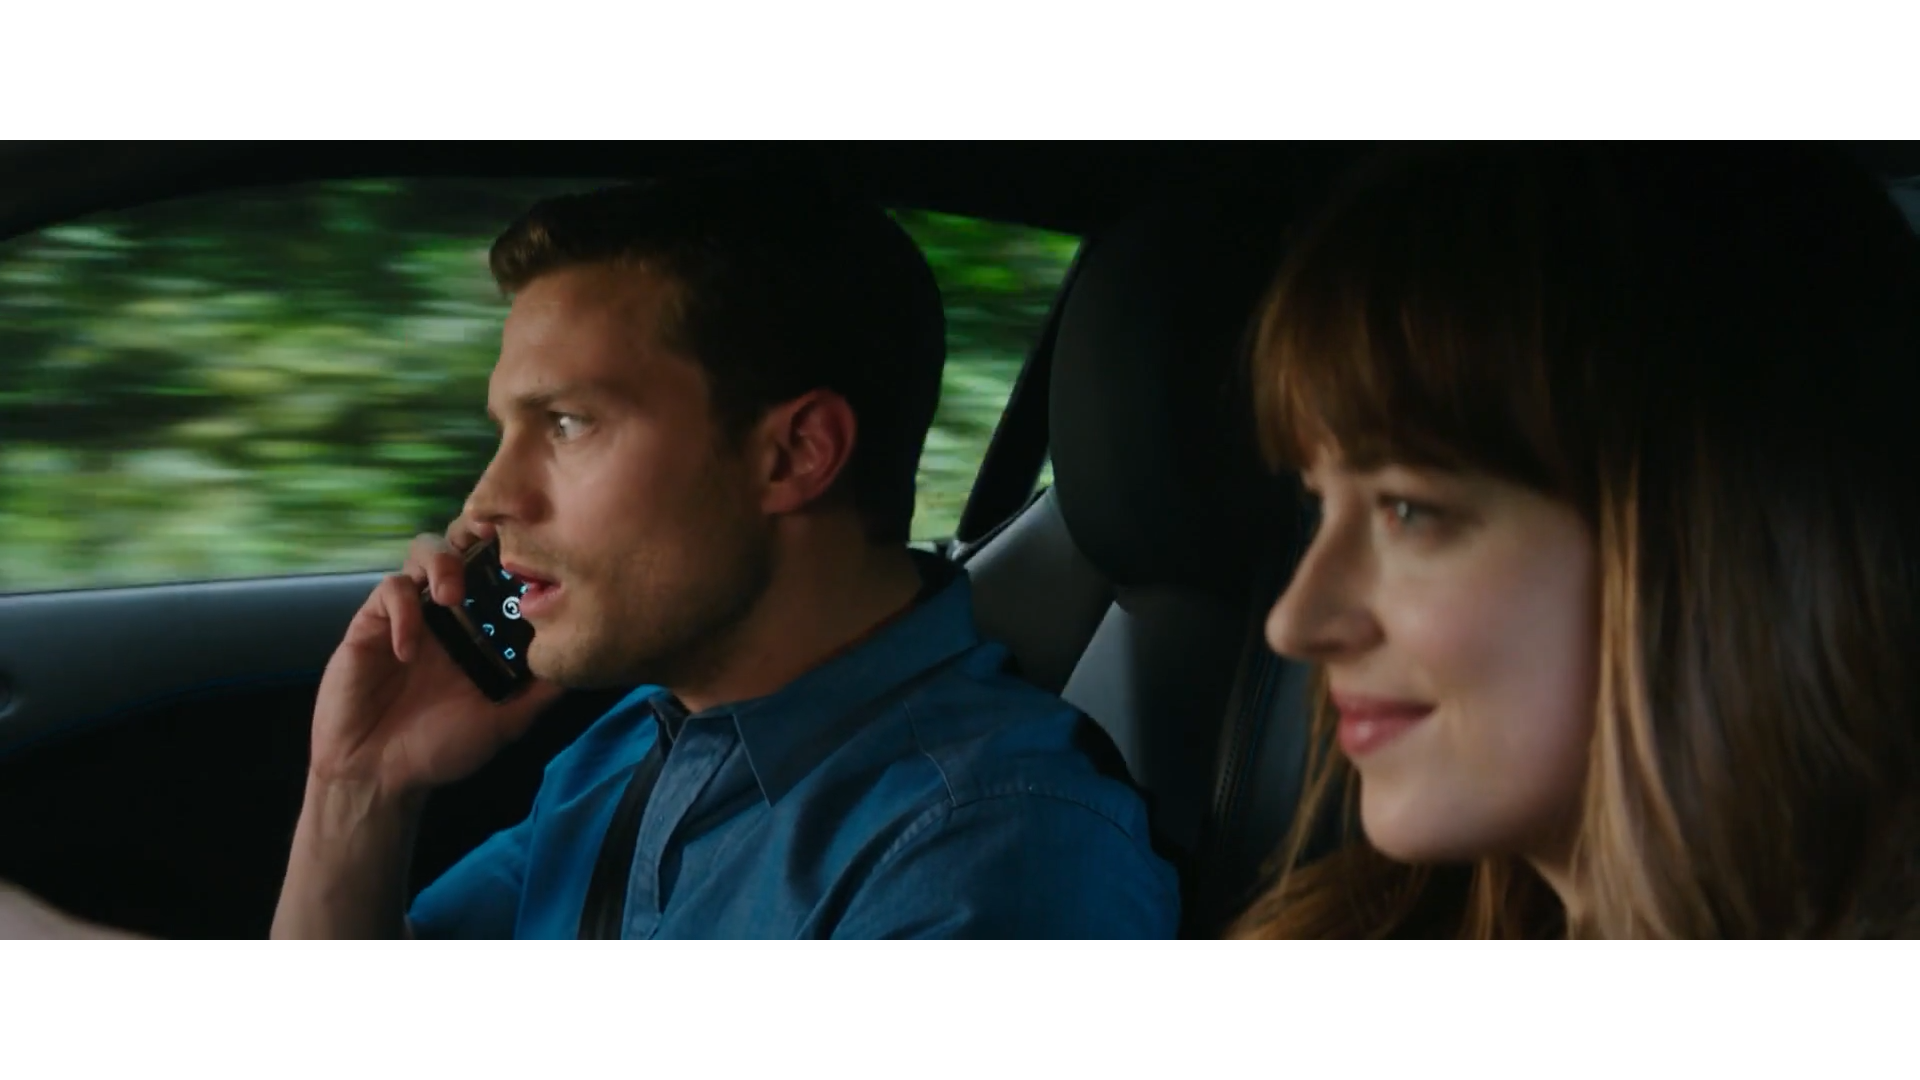
In my time at MPC, I got the chance to work on the film “Fifty Shades Freed.” The level of time and detail that goes into keying feature films is intense. Every pixel is analyzed which I believe contributes to my artistic and technical eye today.
On the opposite end of the spectrum, I was lucky enough to work on a fast paced music video: “Una Locura” by Ozuna, J Balvin & Chencho Corleone. The turnaround was about half a day so it had to be done quickly but still look great. At the time, I didn’t have Nuke so as a challenge I did keying in After Effects for the first time but it worked out!
In close-up detailed shots, it’s important to use more advanced techniques such as color correcting or using an Additive Key on the backplate. Greenspill is also a huge factor that can’t be forgotten. It’s important to keep the balance between removing the green but not too much that it ends up magenta. I also tend to investigate how the grain looks in the RGB channels because sometimes, especially in bluescreen, it can end up removing the grain in that particular channel.
The most important aspects of keying shots at Neoscape was the integration to the plate. Typically, it’s the other way around but because it is an architectural visualization company, we usually used greenscreen characters walking, sitting and doing activities in a space. Shadow, reflection, black levels and color integration were all a huge factor in these types of shots. I always make sure to investigate the shadows, midtones and highlights in each of the RGB channels while adjusting the gamma slider in Nuke. This usually reveals the answers to what needs to be changed in order to achieve the closest to perfect integration.

DIGITAL MAKEUP / SKIN / HAIR / NAILS
One of my favorite things to do in compositing is work on digital makeup and beauty shots. (Though I wouldn’t mind a gnarly, bloody wound or something like that now and then lol). The process is so satisfying because it requires a lot of patience, as well as knowledge of how aspects of the face and body look naturally. I am a certified ✨girlie✨ after all.
The process for a shot like this one usually begins in Nuke with a good old Roto Paint but if it’s close-up or detailed enough it may require a more advanced program like Adobe Photoshop to create the cleanup and/or addition of any makeup. Then it gets tracked on. There are several ways to do this but the ones I have most experience are using a 2D track, SmartVector, and Geotracker/Facetracker.
HAIR REPLACEMENT
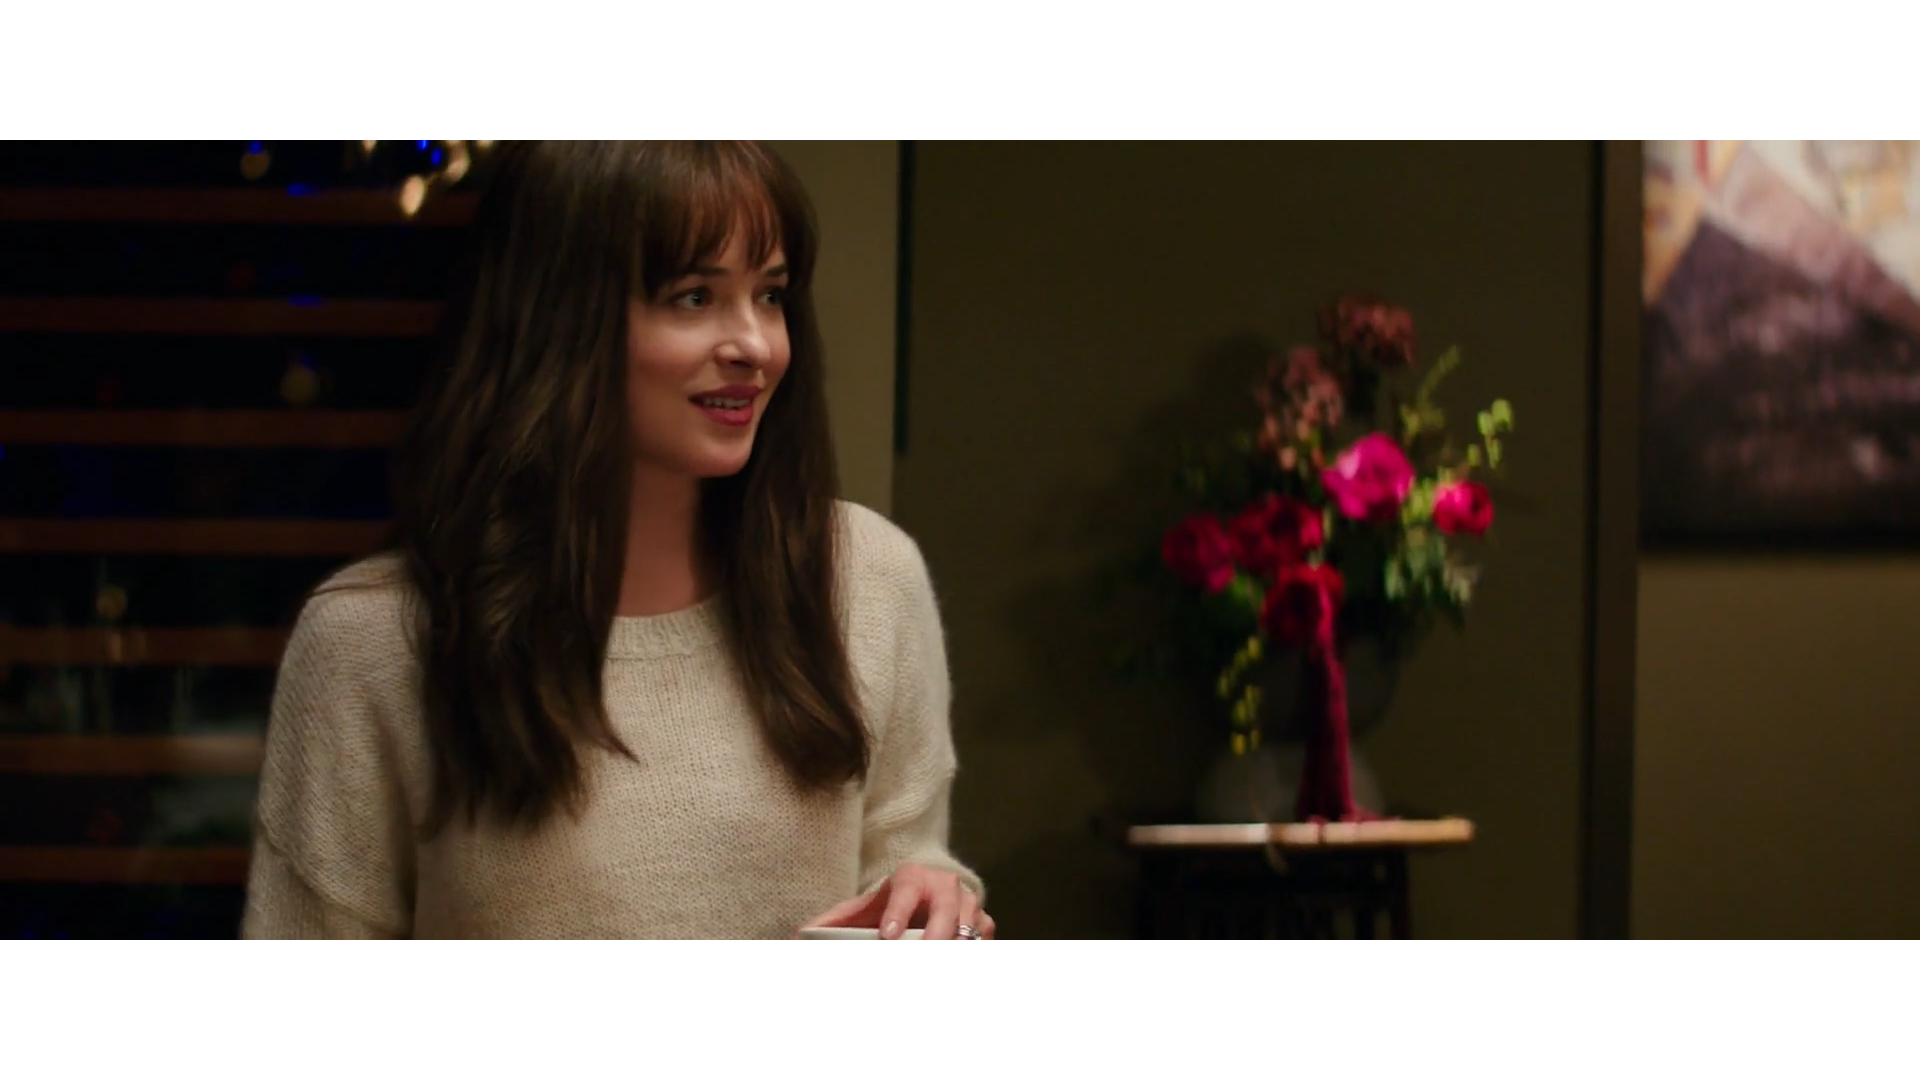
Yes, you read that right. Hair replacement. A little known fact about “Fifty Shade Freed” is that during filming the actress Dakota Johnson who plays Anastasia had to use a wig for many sequences because she had a short, dyed haircut at the time. But for some reason the wig wasn’t looking quite right. Our supervisor at MPC presented this problem to us which led me to mock up some stills of her wig being replaced with pieces of her real hair from other shots. He got excited when he saw these mockups because we had a way to fix this! Then began a full month of I and the rest of the team, slowly and patiently tracking on her gorgeous curls back on. It taught me a lot about SmartVector and its’ strengths and limitations at the time. In the end it gave us a great result that no one could ever tell she had “fake” hair. I wonder why I love invisible effects so much since we definitely don’t get enough credit for things looking so seamless but I do anyways!
CLEAN PLATING
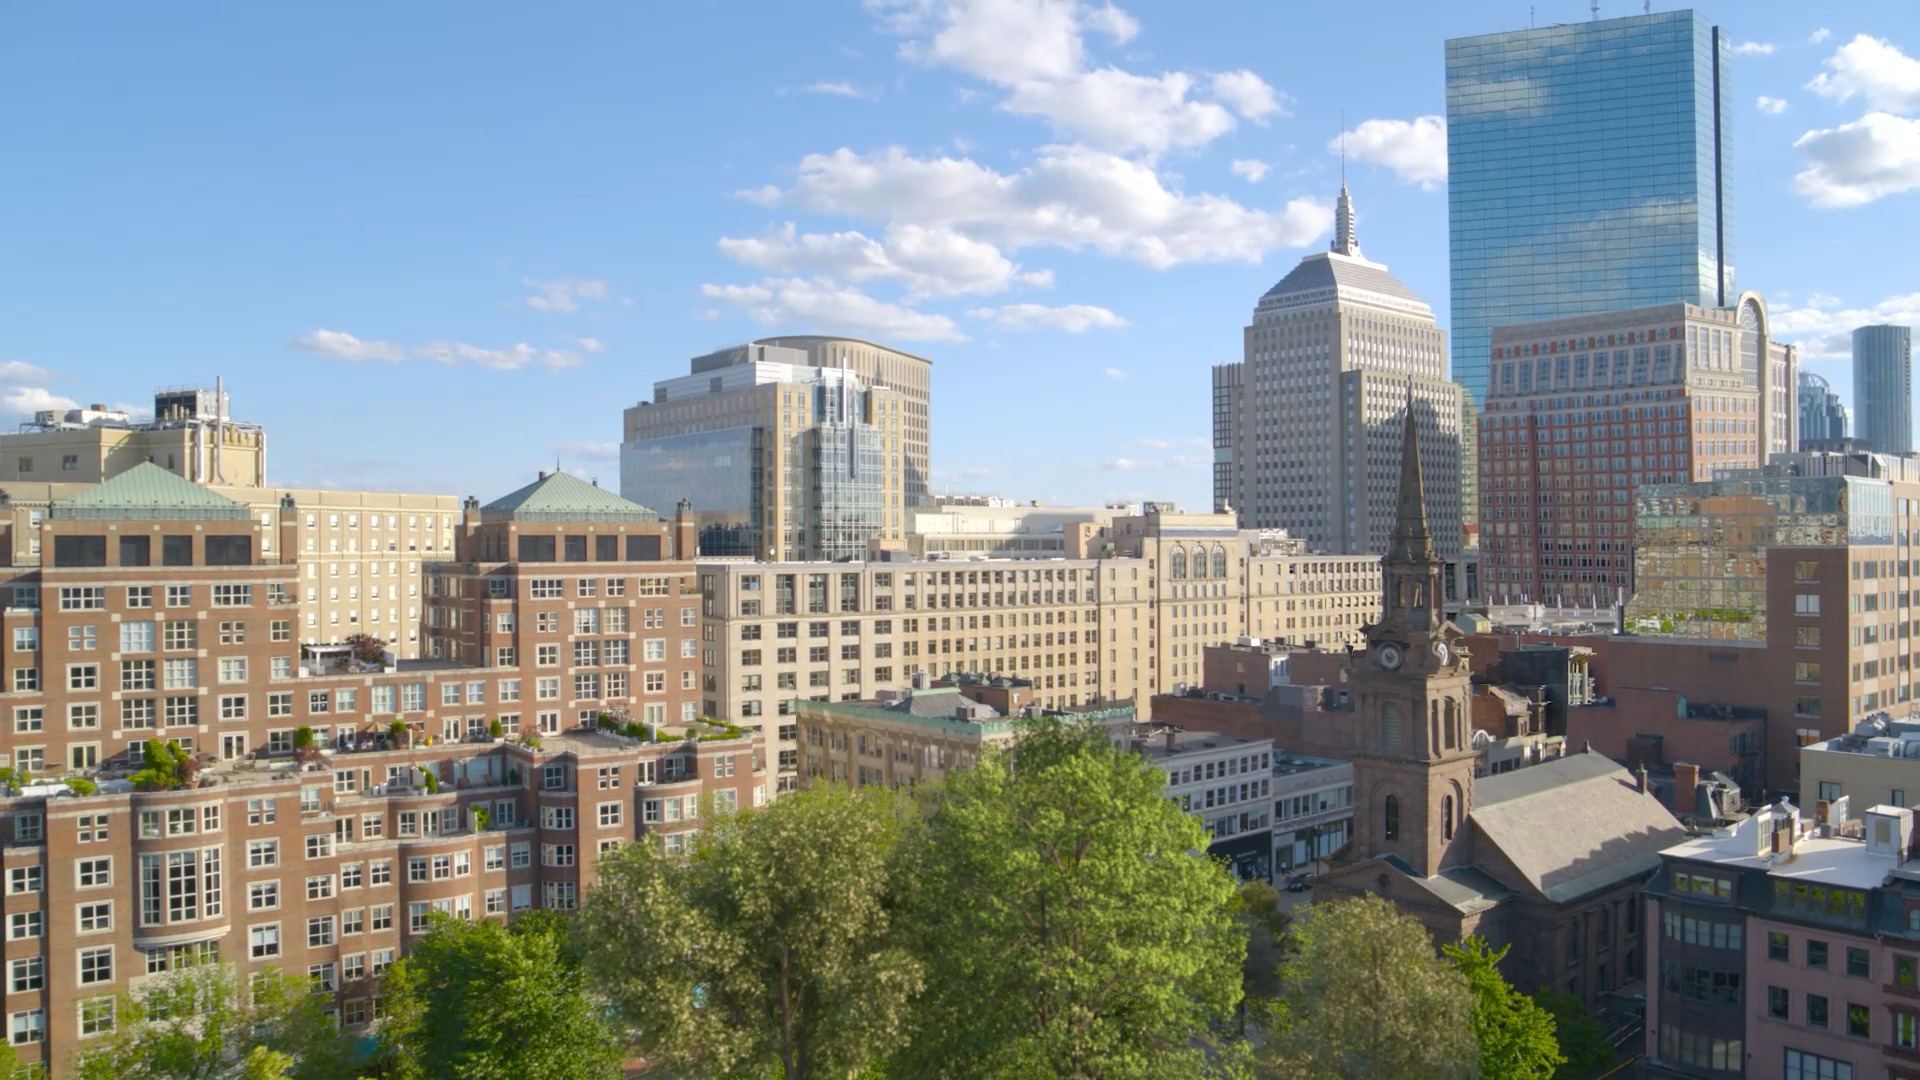
Another type of compositing that falls under the invisible effects category and also doesn’t get enough credit is clean plating. It often takes several layers and cards, all adjusted perfectly in Z-space to get a good result. I typically use Nuke to complete this type of task, often using nodes like Roto Paint or some type of Transform tool, Project3D, a Card and ScanlineRender.
